Access Ubuntu Server
Connect Through Hyper-V - Allows init level access for troubleshooting and root pw reset
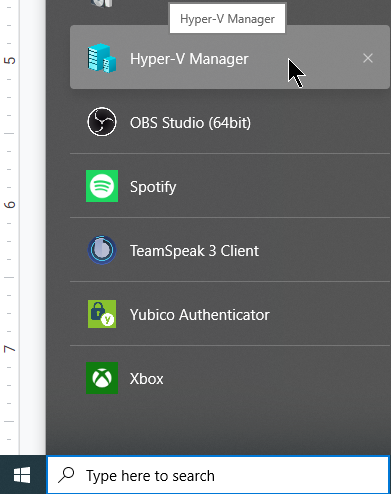
Open Hyper-V Manager
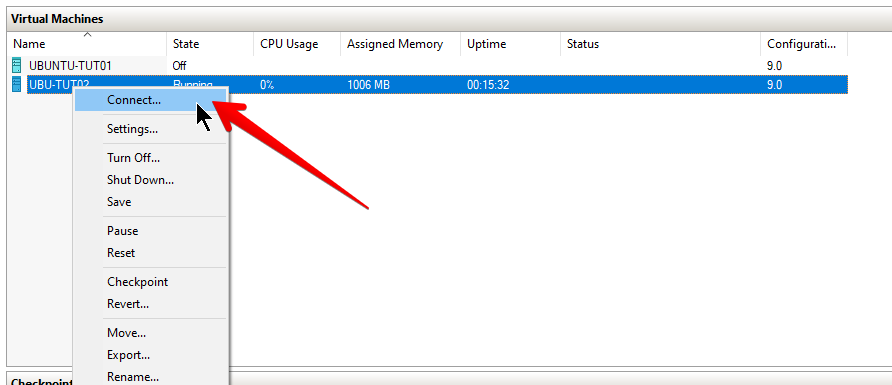
Right Click Virtual Machine
Login with username and password
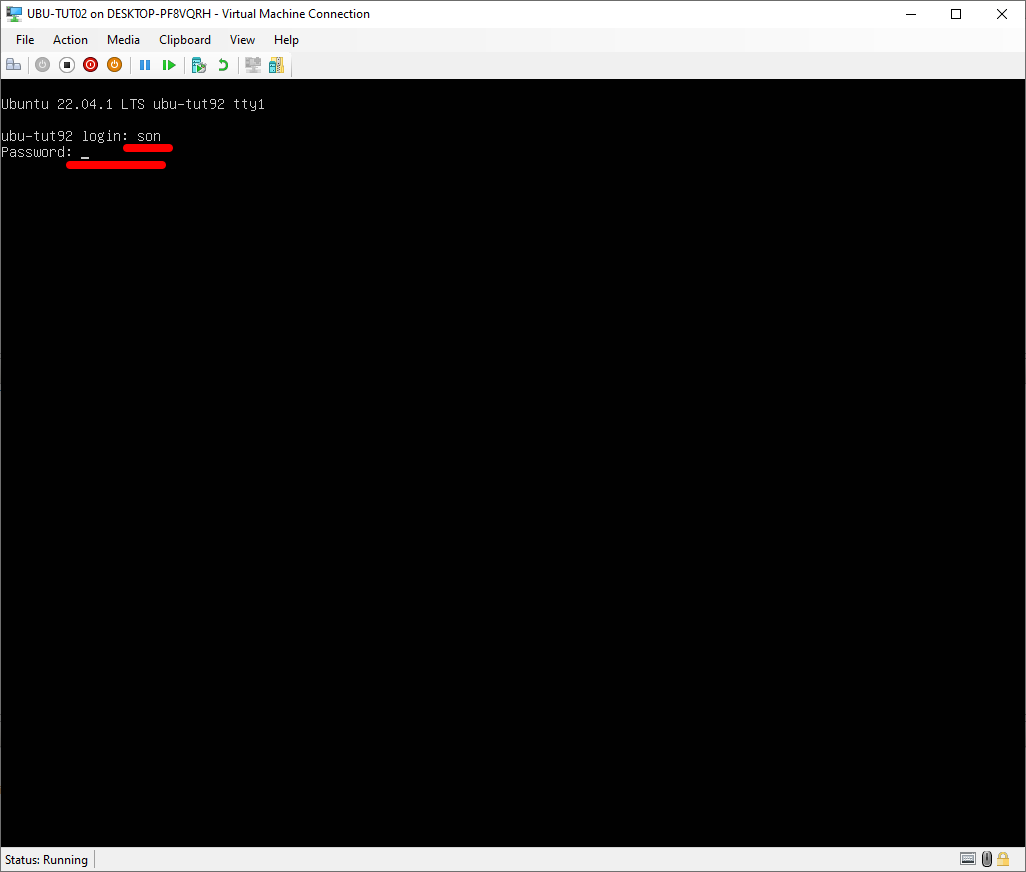
Confirm Successful Login

SSH Terminal Access - Remote Run Level Access
Windows Powershell SSH Access
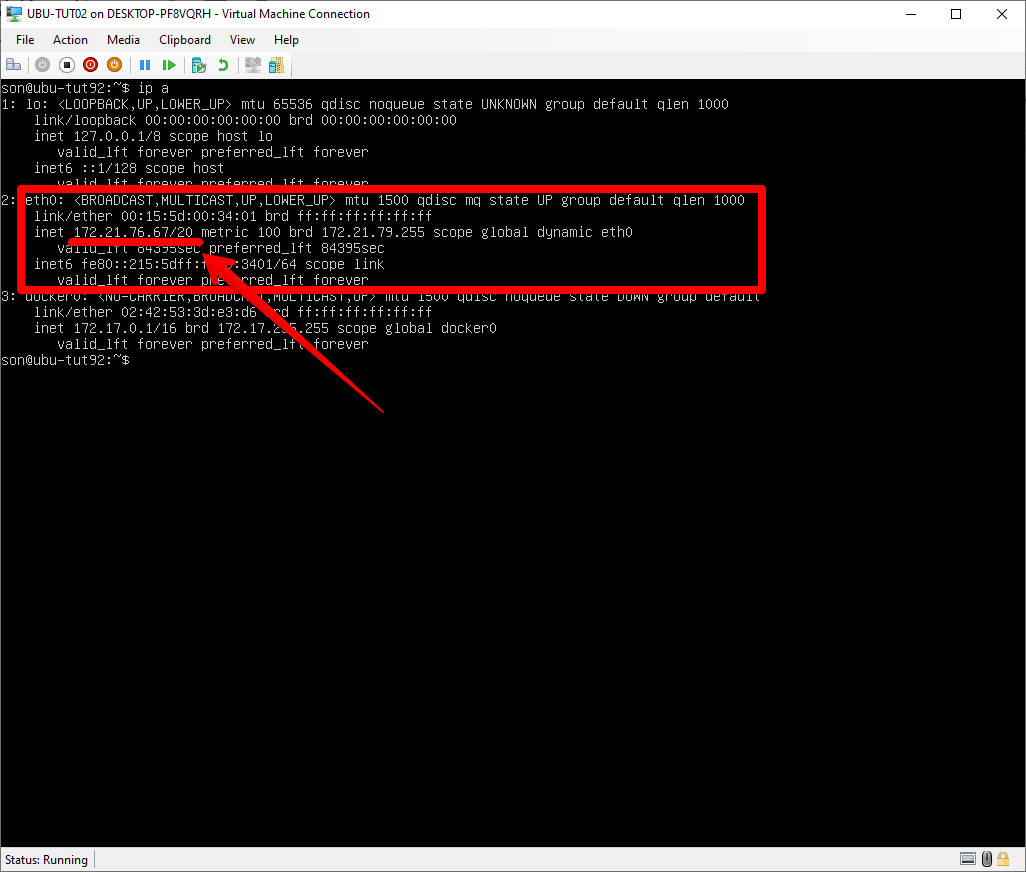
Obtain IP from hyper-v console with command ip a
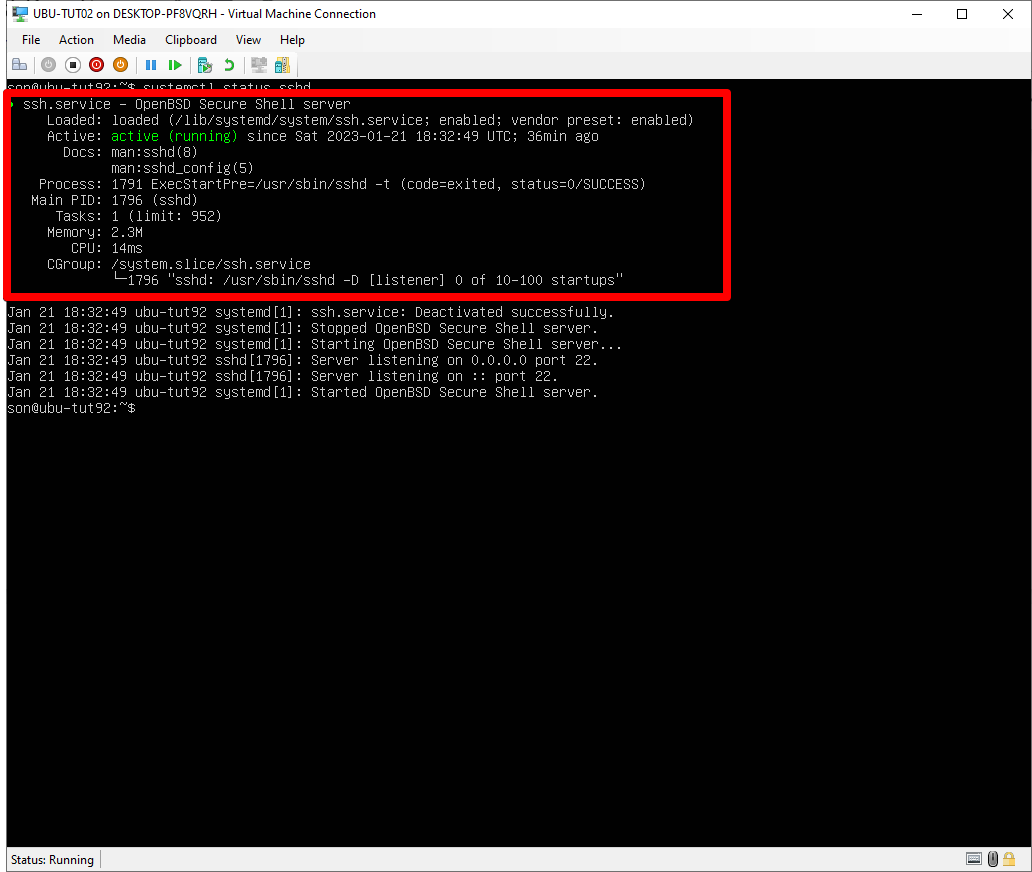
Confirm SSH service is running with command systemctl status sshd
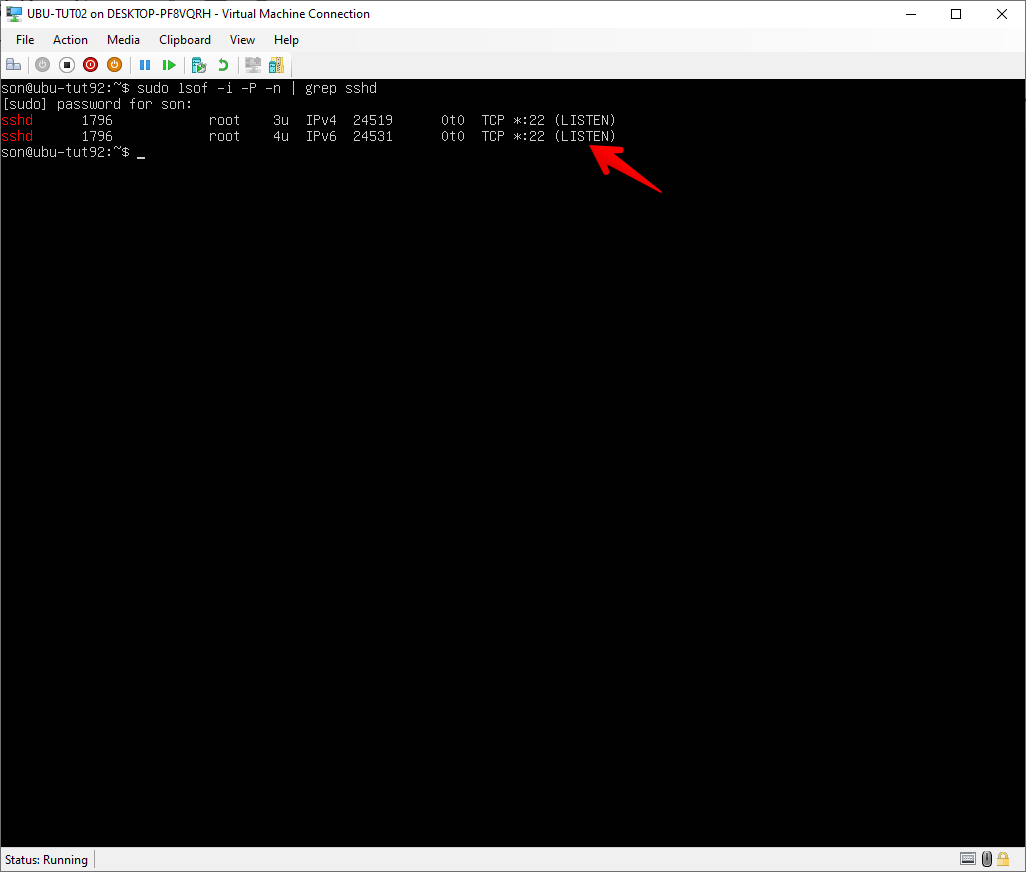
Confirm port 22 is listening with command sudo lsof -i -P -n | grep sshd
Check if firewall is enabled with command sudo ufw status

Open Manage Optional Features
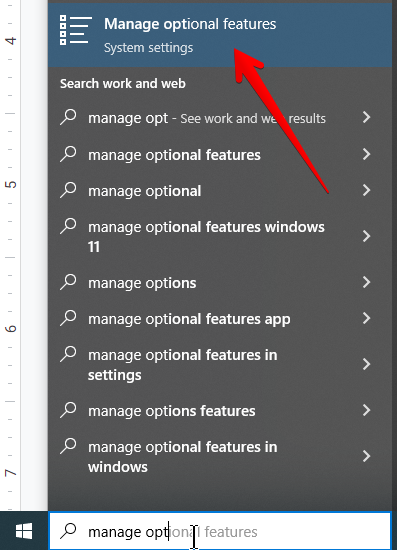
Search for OpenSSH and install

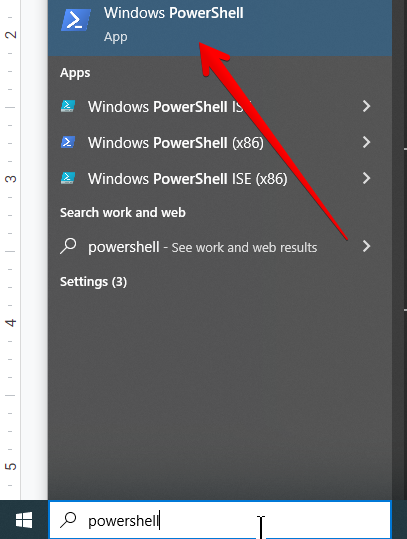
Search and Open Powershell
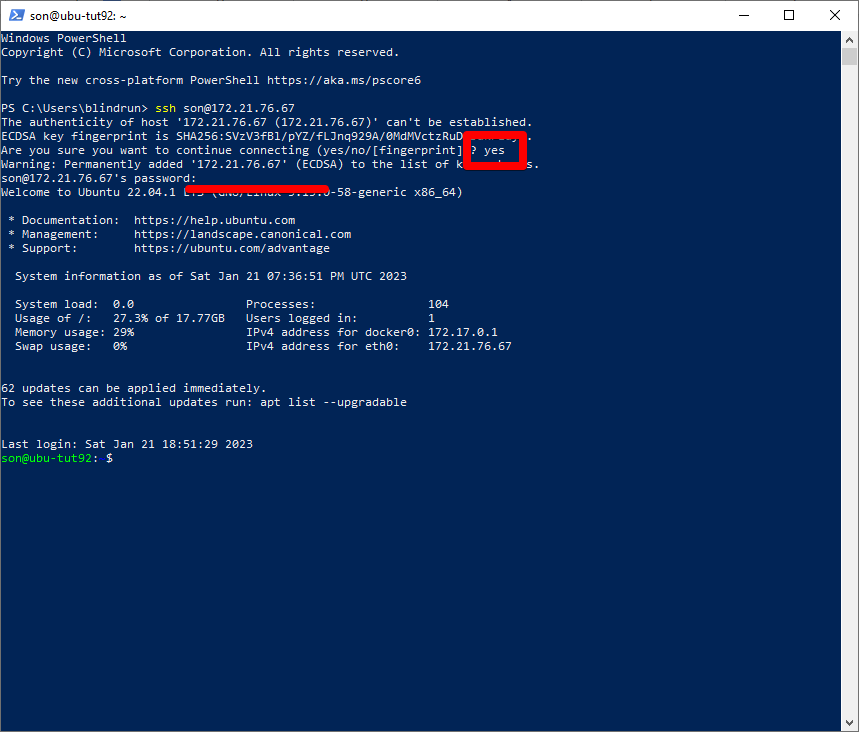
Connect To Your Ubuntu Server By Using The Command ssh [username]@[ip address]

Type yes then press enter and enter your password and press enter
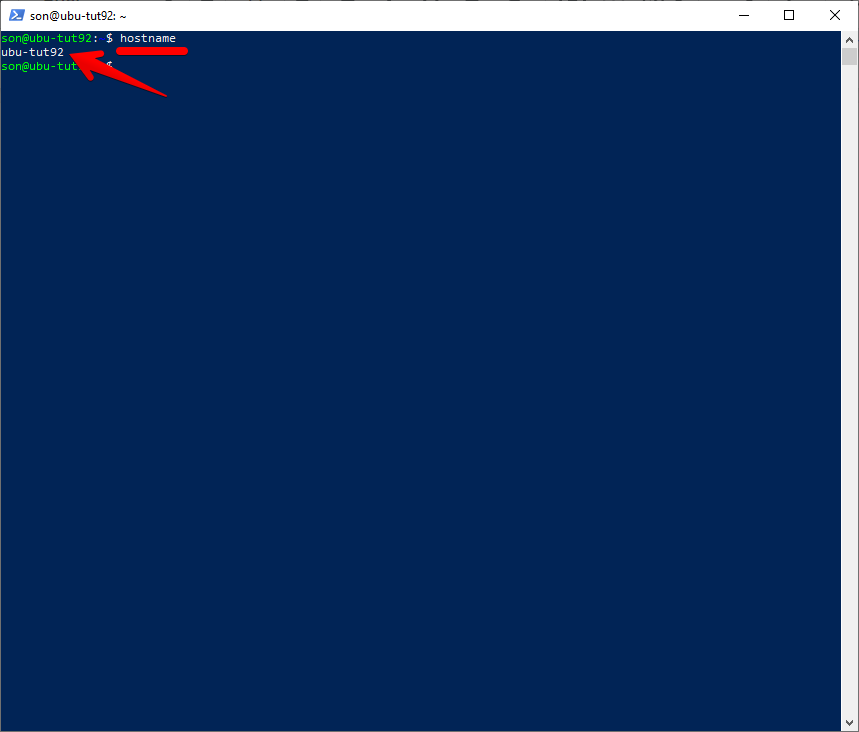
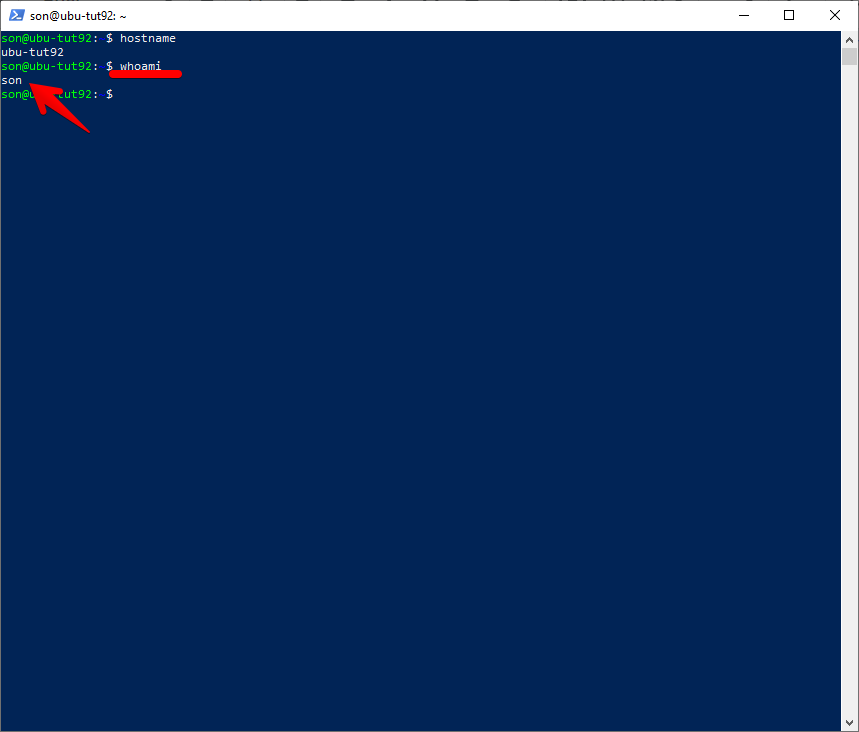
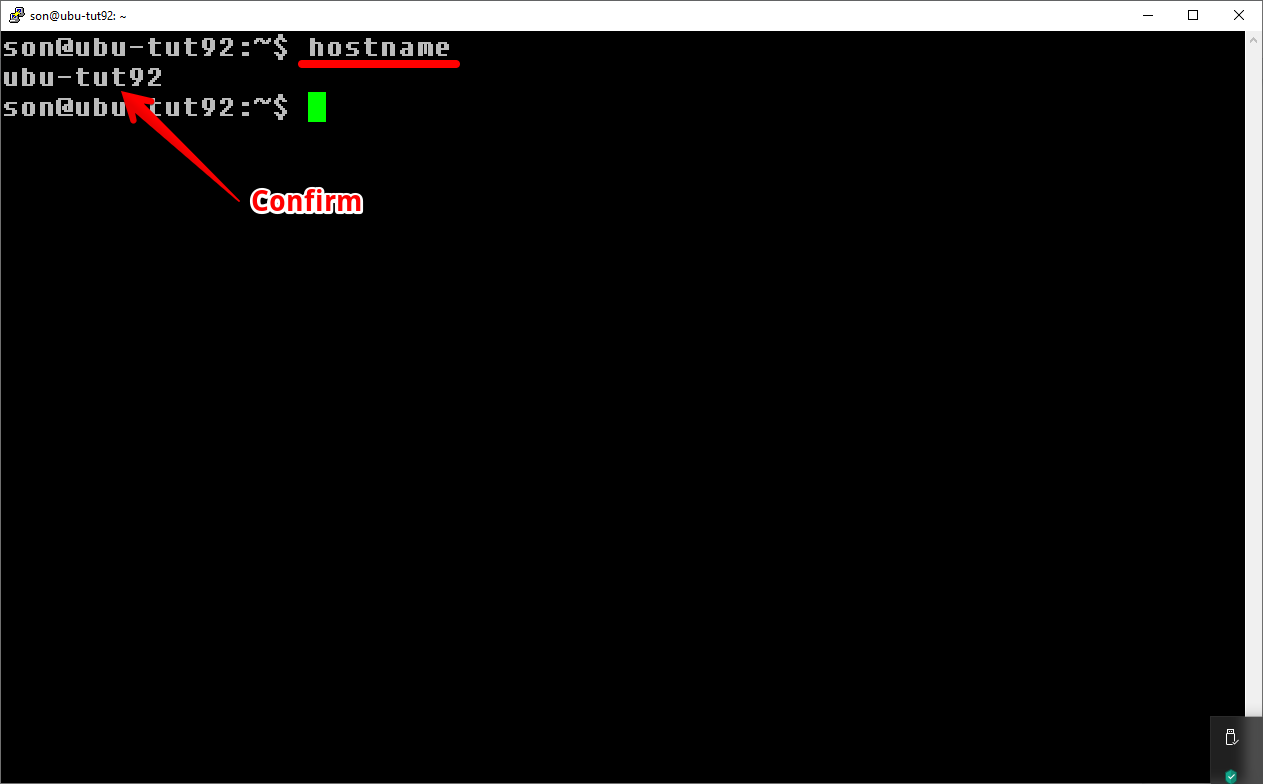
Confirm you are connected to the correct machine with command hostname
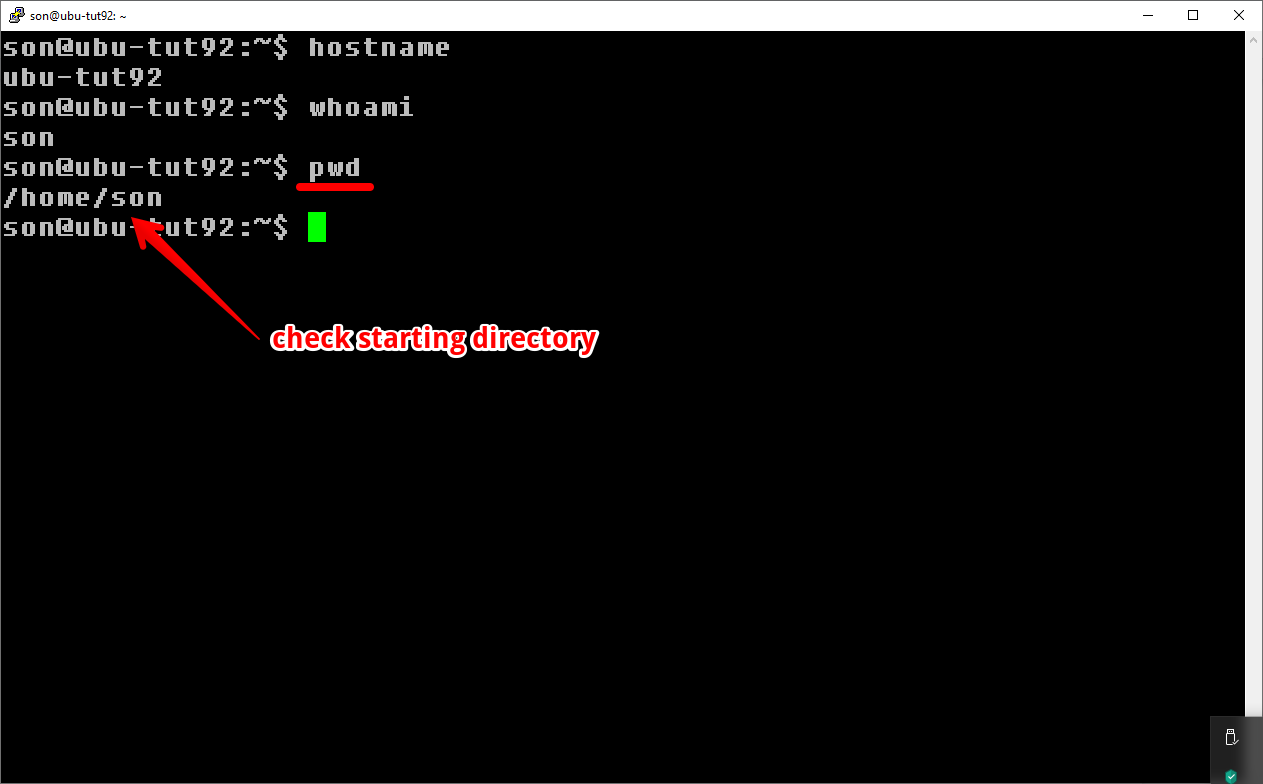
Confirm which user you are connected with command whoami
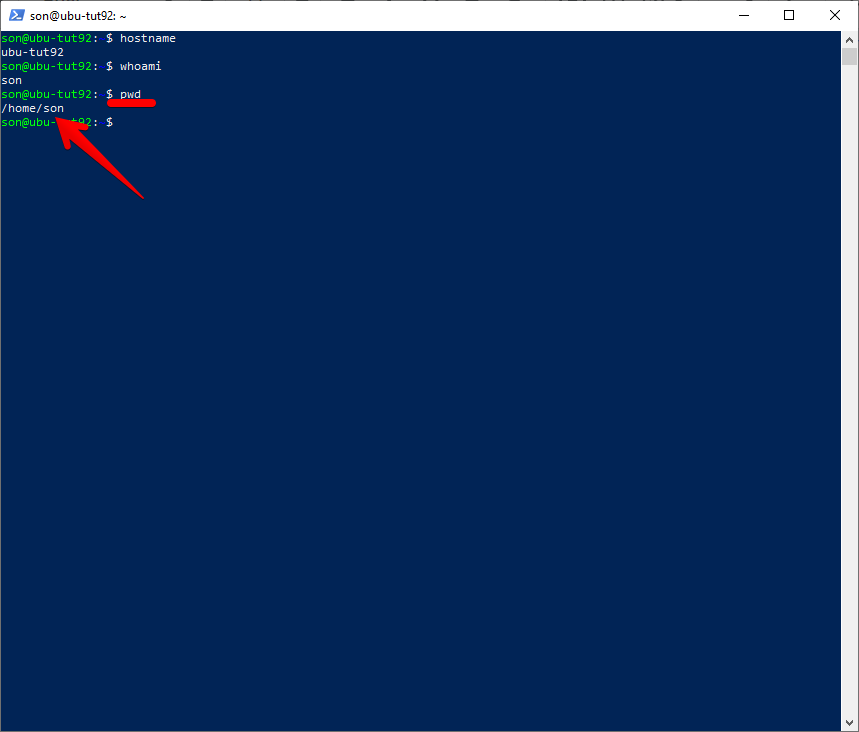
Find the current directory you are working in with command pwd
Use Up and Down Arrow Keys to cycle through previous commands
Putty SSH Access - Most common tool for ssh access on windows
Download and install putty from https://putty.org/
Obtain IP from hyper-v console with command ip a
Confirm SSH service is running with command systemctl status sshd
Confirm port 22 is listening with command sudo lsof -i -P -n | grep sshd
Check if firewall is enabled with command sudo ufw status
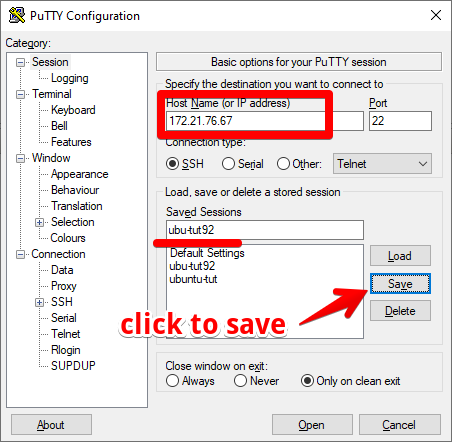
Open Putty

Enter Server IP, Name Your Server and Click Save
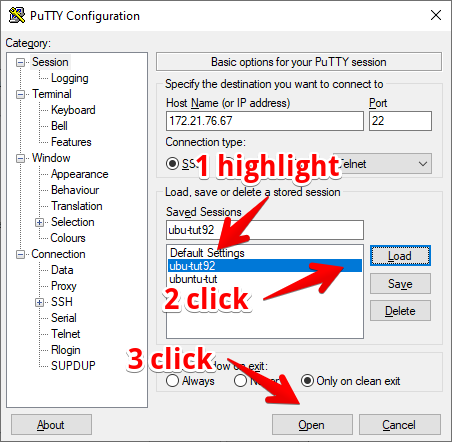
Click Open to Connect to Server
Login to Server

Confirm you are connect to the correct server with command hostname
Confirm you are connected with the correct user with command whoami

Check your starting directory before beginning work with command pwd
Congratulations you have learned how to connect to your linux server and performed the login best practices. Remember to always confirm you are connected to the correct machine with the correct user and in the correct directory before beginning work.