What is virtualization?
Virtualization enables the emulation of multiple computer systems on a single piece of hardware.
Virtual Machines are emulations of an operating system on top of a hypervisor or other OS
We will be using virtualization in this series to simplify the process of adding and removing various features to our linux systems.
Virtualization options
Bare Metal - Meaning hypervisor is installed at the hardware level
HyperV
VMWare
ProxMox
Workstation - Installed on top of another OS (operating system)
Virtual Box
HyperV
VMWare Fusion / Workstation
For this tutorial we will be covering the activation and utilization of HyperV built into windows 10/11 Pro. Let me know in the comments if you would like me to cover Oracle VirtualBox as well. In the future we can cover bare metal options.
Virtualization How To
Ensure Virtualization options are enabled at bios level.
Reboot the computer and open the system's BIOS menu. This can usually be done by pressing the delete key, the F1 key or Alt and F4 keys depending on the system.
Open the Processor submenu The processor settings menu may be hidden in the Chipset, Advanced CPU Configuration or Northbridge.
Enable Intel Virtualization Technology (also known as Intel VT) or AMD-V depending on the brand of the processor. The virtualization extensions may be labeled Virtualization Extensions, Vanderpool or various other names depending on the OEM and system BIOS.
Enable Intel VTd or AMD IOMMU, if the options are available. Intel VTd and AMD IOMMU are used for PCI passthrough.
Save & Exit
Enable Hyper in Windows Features
Search in cortana for windows features

Select box for hyperv and ensure management tools are selected
Restart Computer
Download Ubuntu 22.04 https://ubuntu.com/download/server

Create Virtual Machine
Open Hyperv Manager

Right Click Your PC Name > New > Virtual Machine
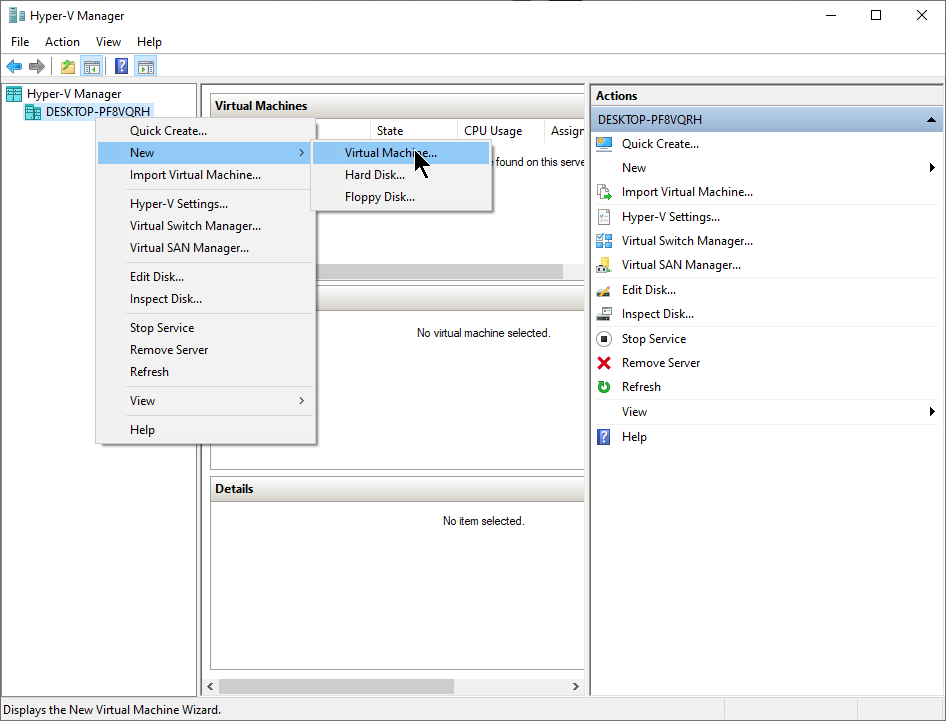
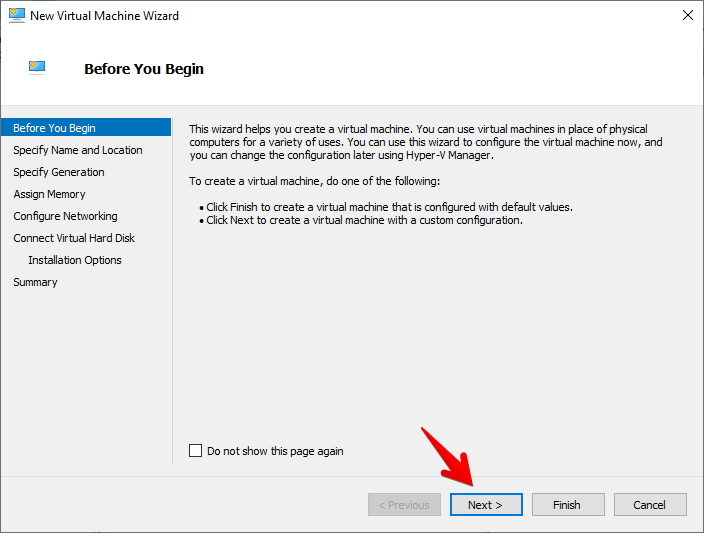
Click Next
Name Your Virtual Machine

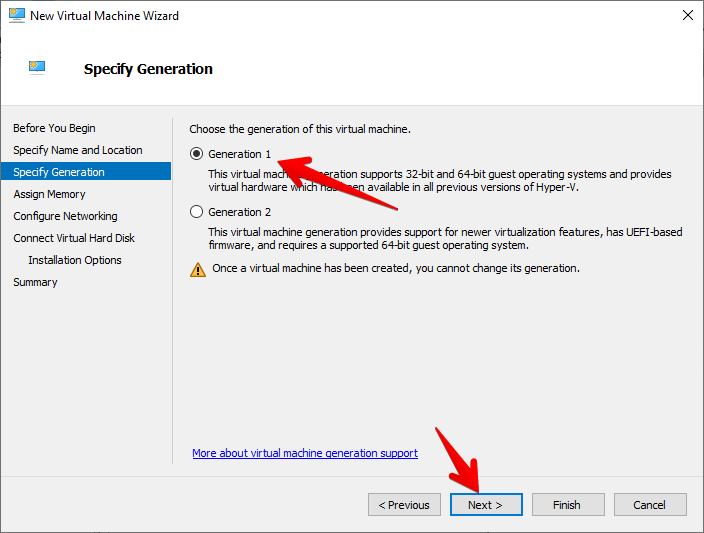
Select Generation
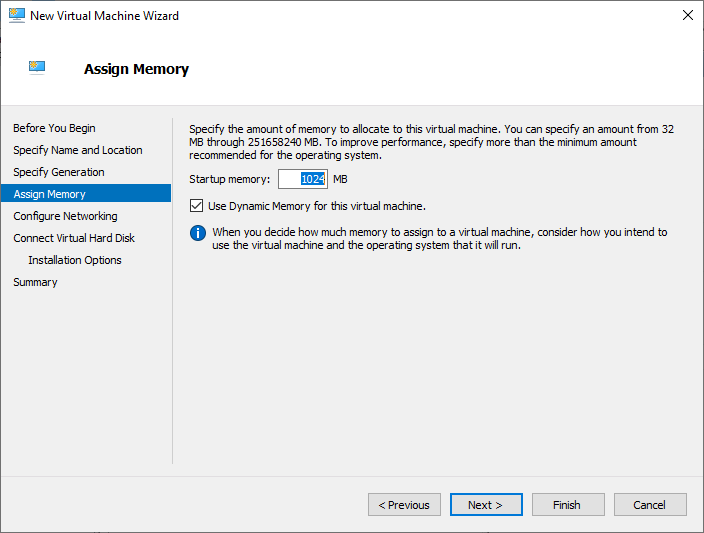
Select Starting Memory Size
Select Networking

Create New Disk (20GB)

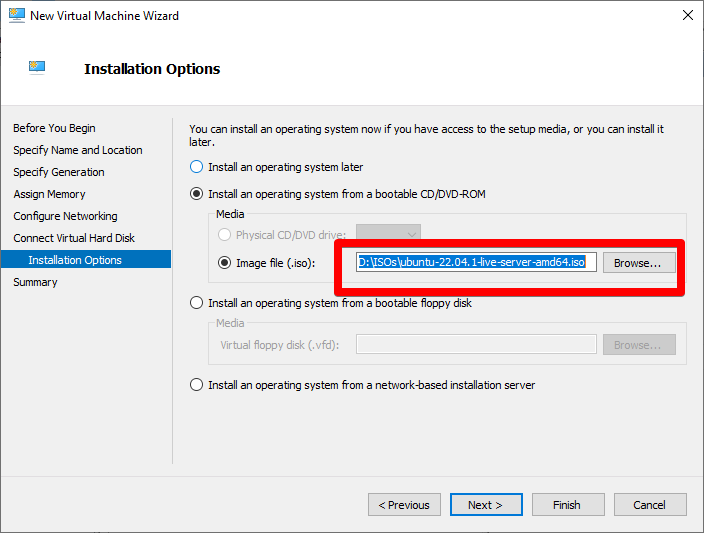
Select Install from CD and Image File

Select Ubuntu Server 22.04 ISO From Download Earlier
Click Finish and The Virtual Machine Will Be Created

Install Ubuntu on Virtual Machine
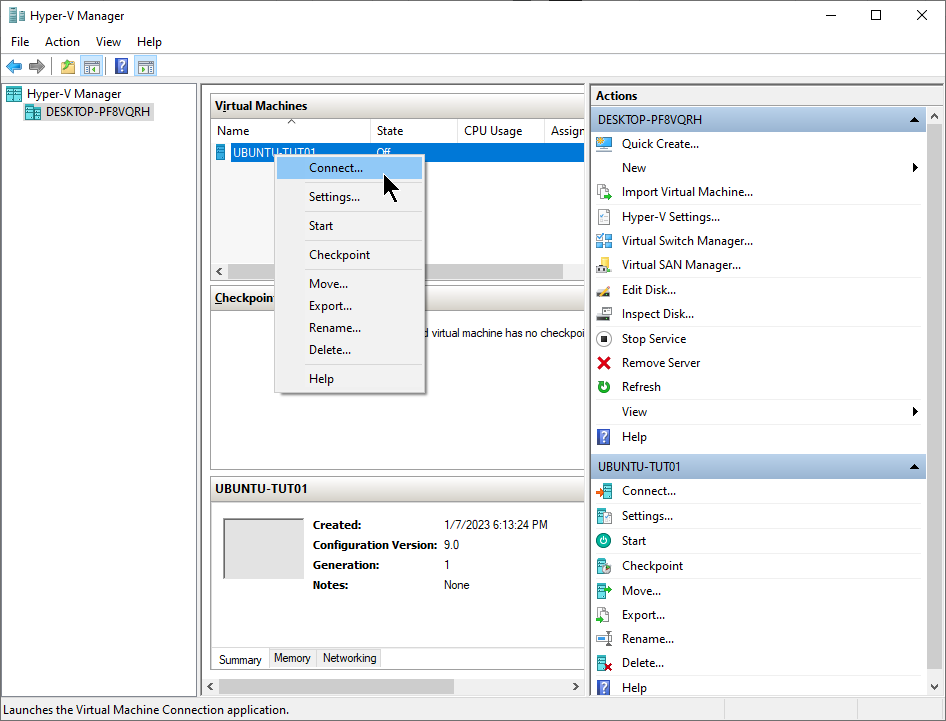
Right Click VM and Select Connect
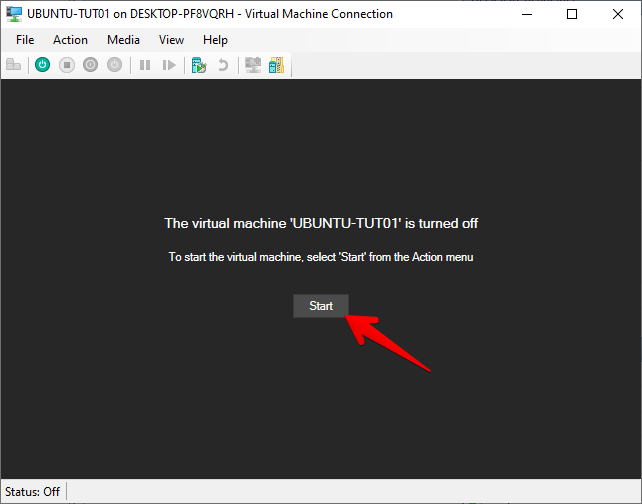
Click Start
Select Try or Install

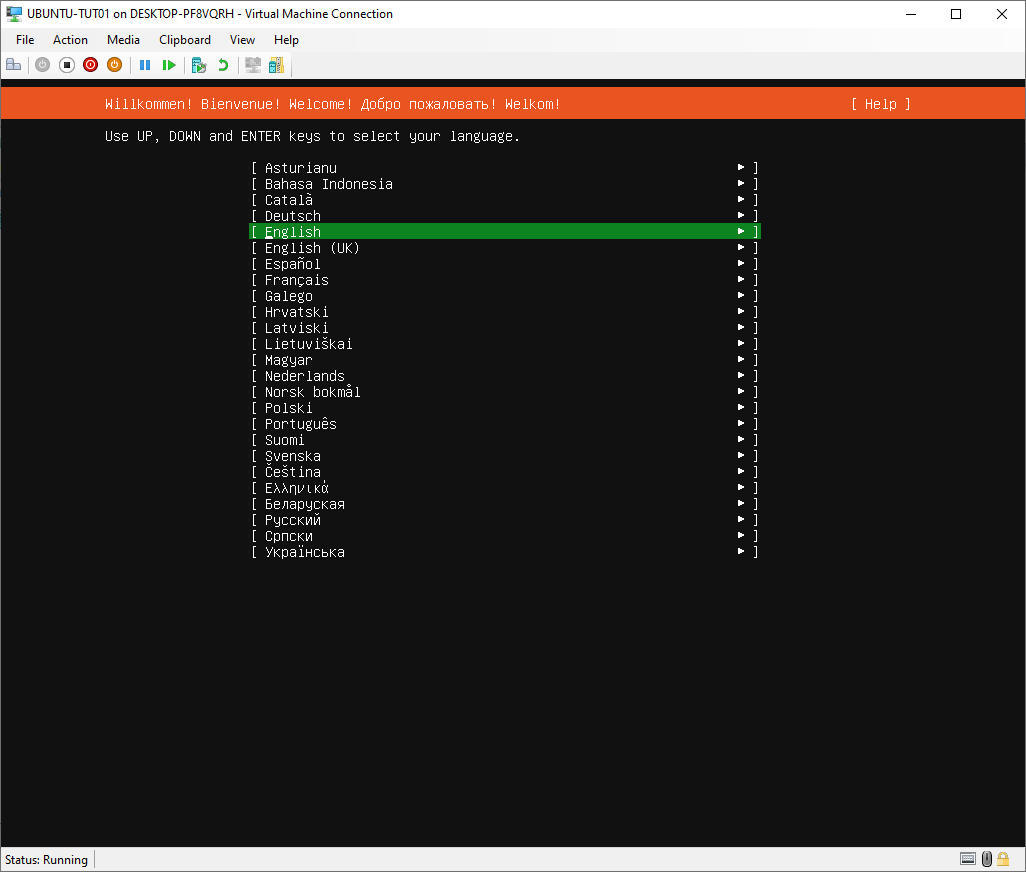
Select Language
Update Installer

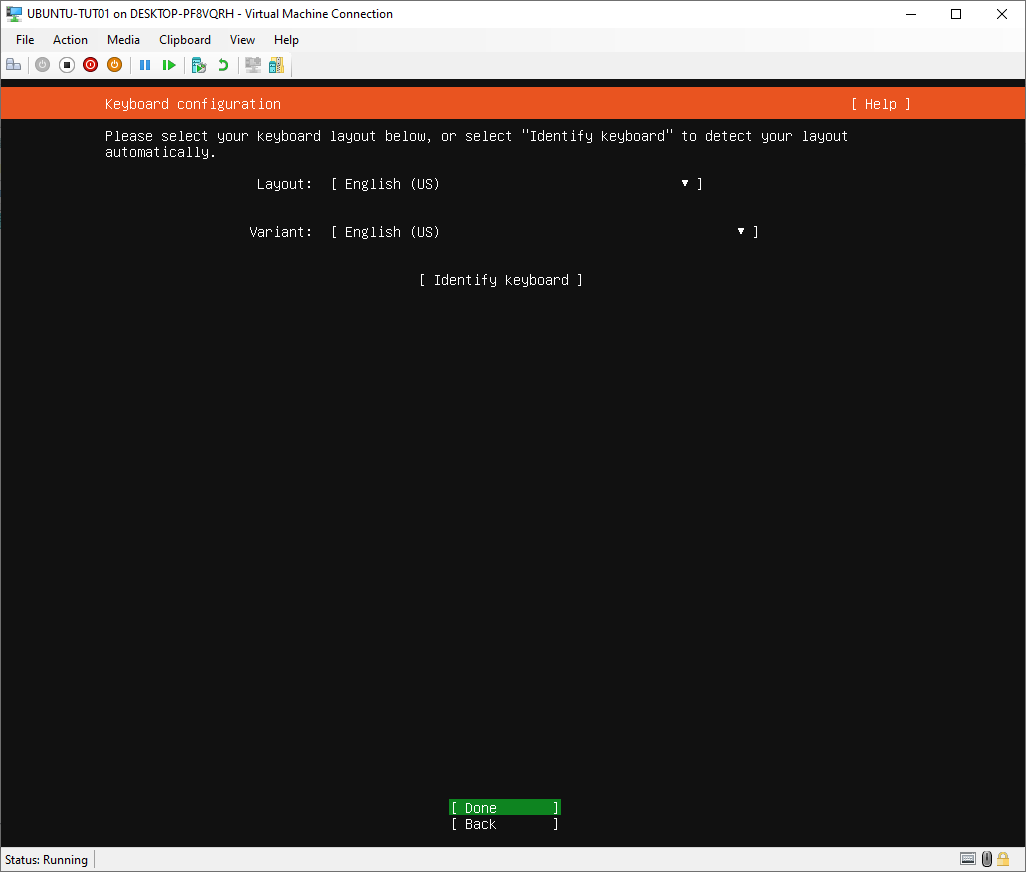
Select Keyboard Configuration
Select Ubuntu Server

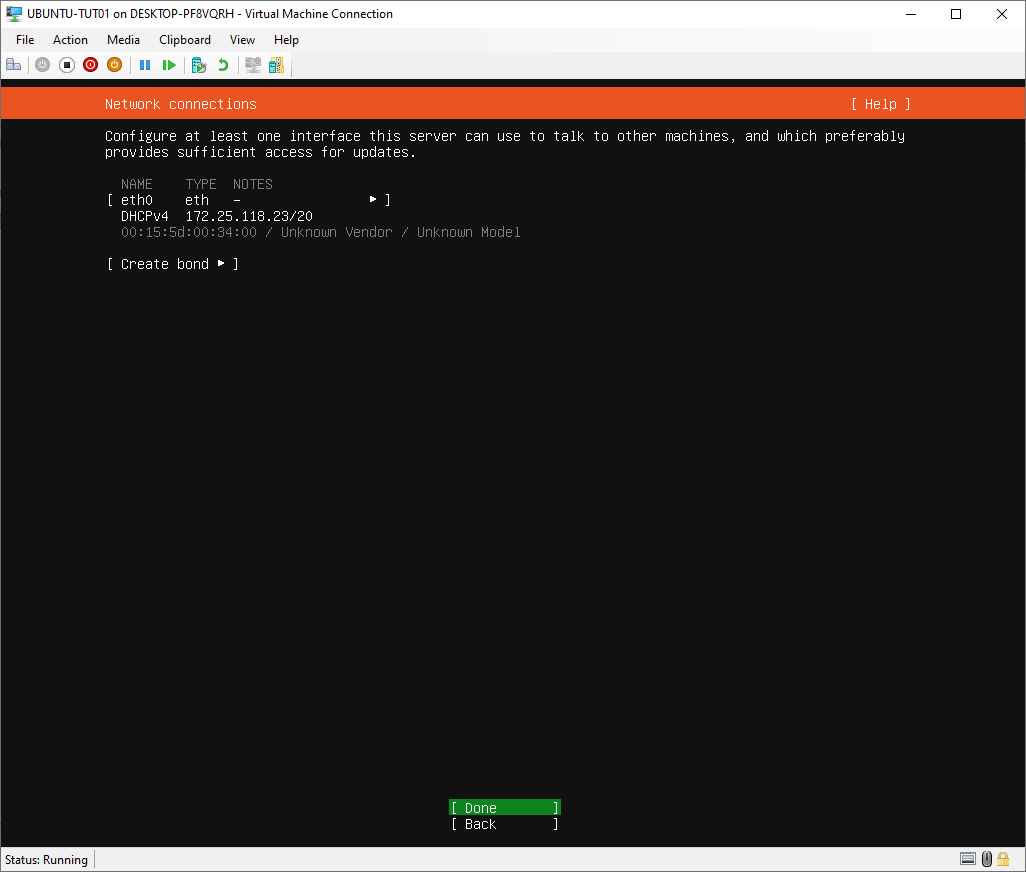
Confirm Networking
Skip Proxy

Confirm Mirror

Default Disk Configuration

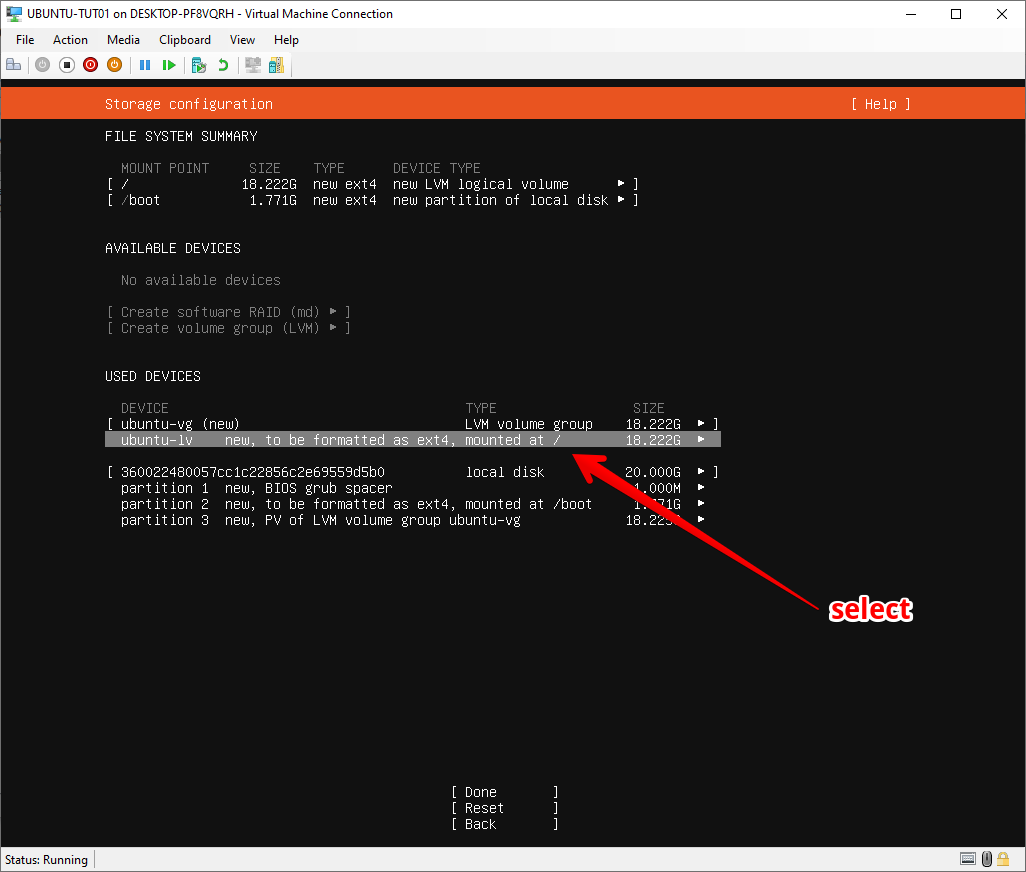
Select Logical Volume
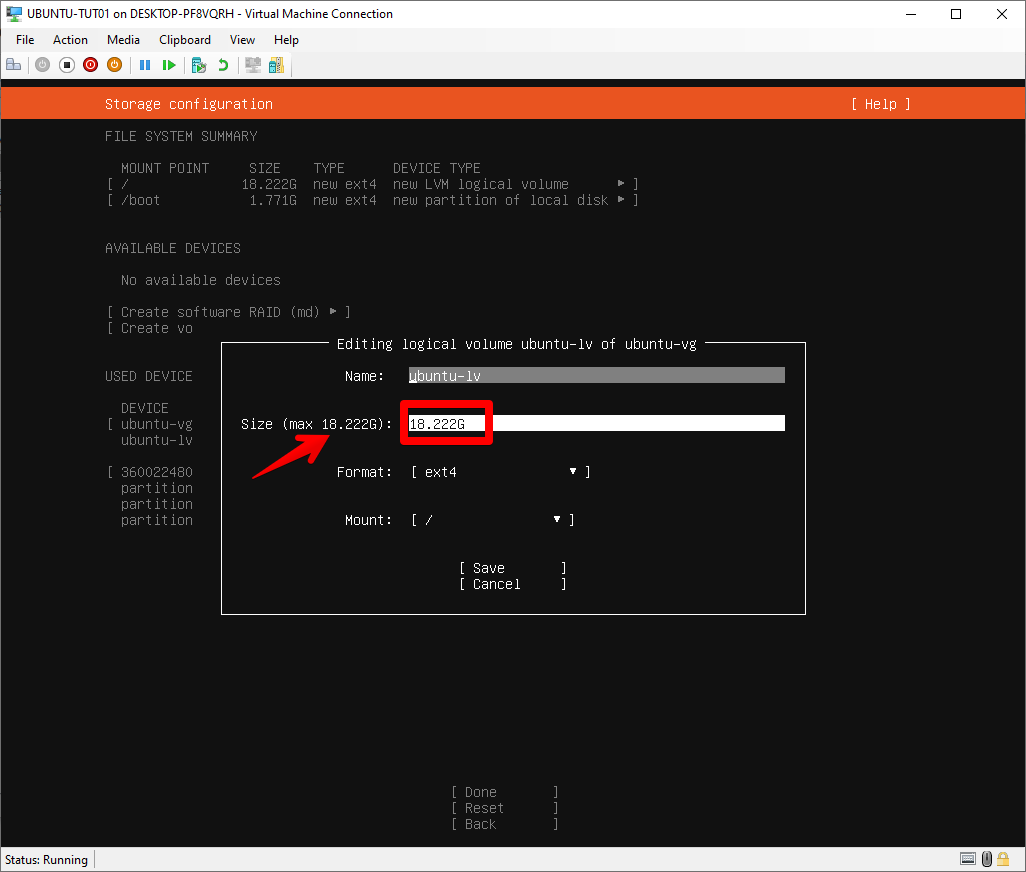
Edit Logical Volume

Expand Volume to Max Size
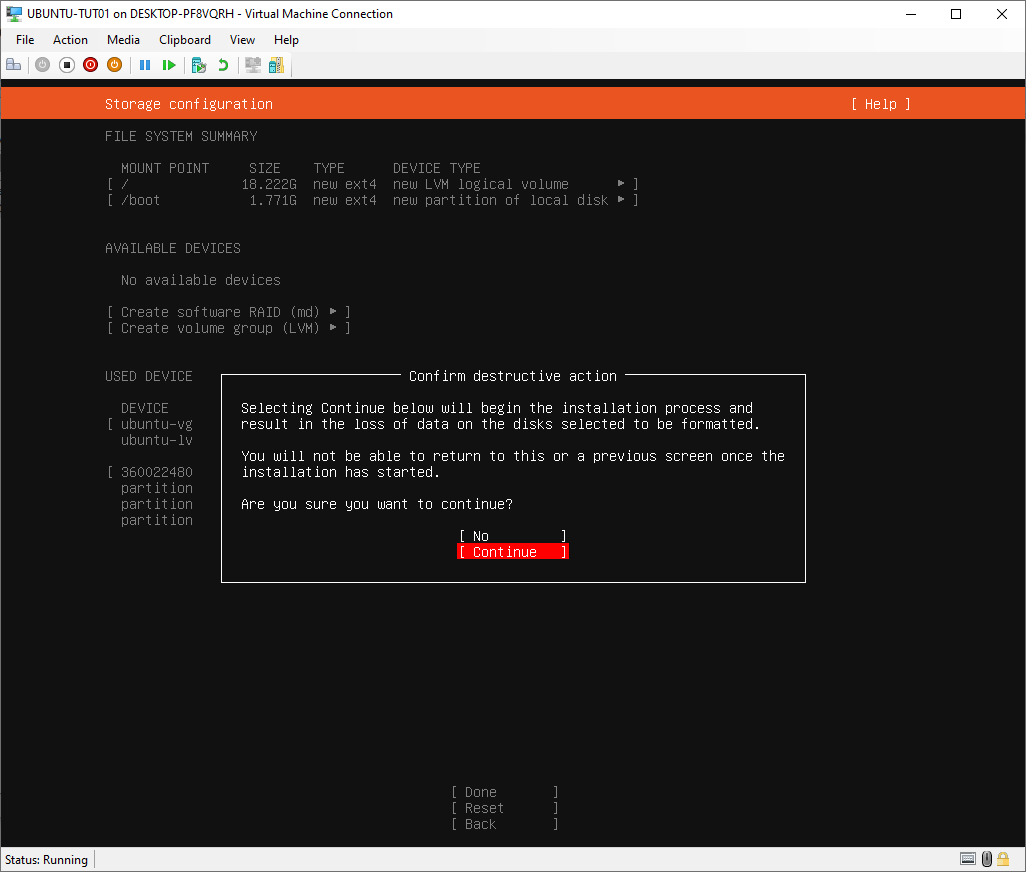
Confirm Install
Enter User and Computer Details

Install ssh

Skip additional tools

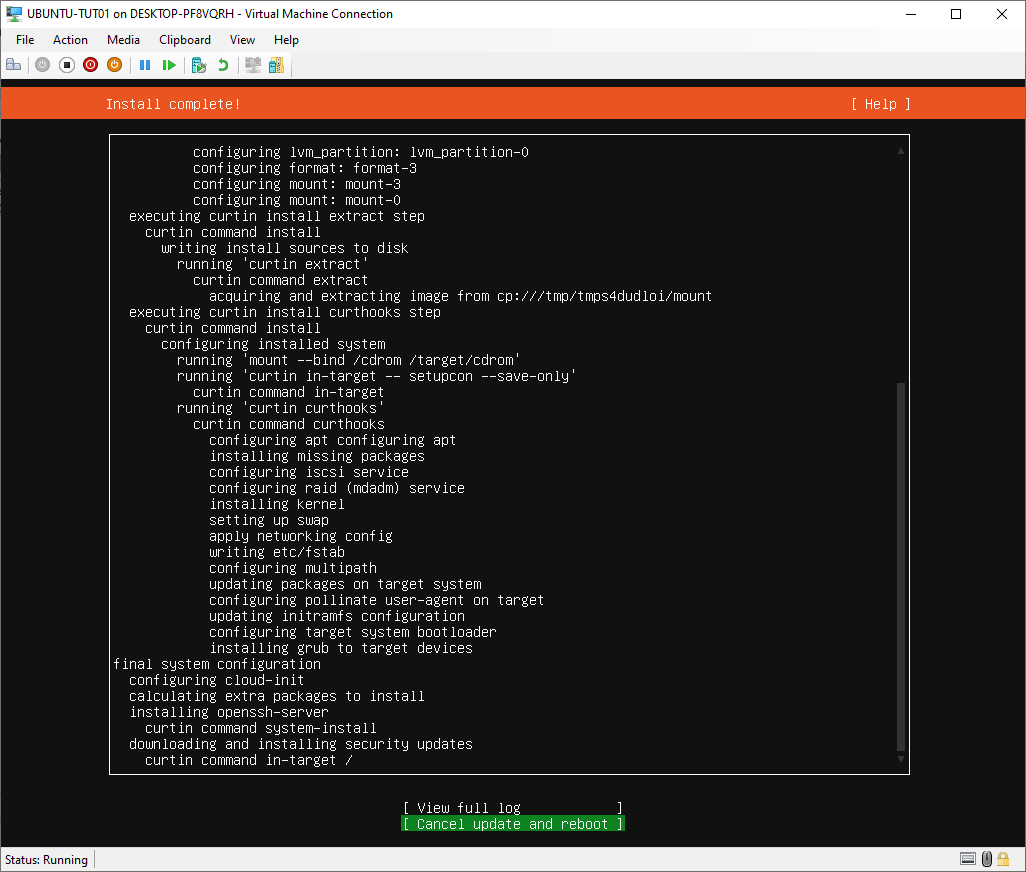
Cancel Update if Hung
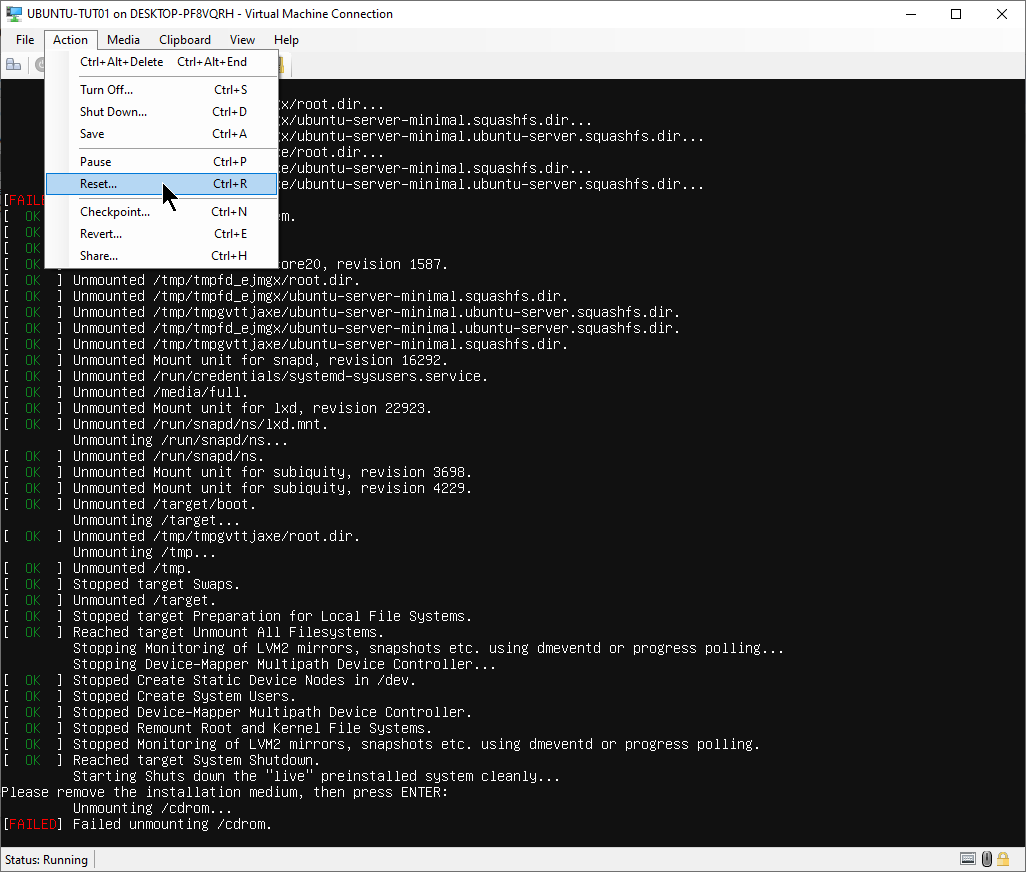
Reboot

Unmount Error - Force Hard Reset

Congratulations you have installed your first Linux Operating System!